Flash photography can sound complicated to beginners, but fear not! With a few simple ideas, settings and tips, you can quickly find yourself capturing stunning images with flash light. As a photographer myself, I understand the importance of working with natural light, but sometimes poor light conditions call for the expansion of our creative arsenal. This is where flash photography enters the picture – quite literally.
My name is Ana Mireles and I am excited to unveil the world of beginners flash photography. Whether you are an aspiring photographer or simply curious about how to take better pictures using your camera flash, this article will guide you through the basics and help you explore the artistic vision that flash photography can offer. So if you're ready, let's dive into the world of flash photography and discover how it can enhance your photos in ways you never thought possible.
Additional reading: Wedding Photographer
The Ins and Outs of Flash Photography Unveiled!
Flash photography has come a long way since the early days when flash photographers literally risked their lives with burning magnesium to create bright daylight-like light for their images. In 1889, Joshua Cohen and Paul Boyer invented the flash lamp, which used electrical power and a wire fuse to ignite the flash powder, making it less dangerous for photographers. Later, in the 1960s, Kodak introduced flash bulbs that remained popular until the advent of electronic flashes.
Electronic flashes have become the mainstay of flash photography due to their synchronization capacity with the camera's shutter speed. Professor Harold Egerton invented the electronic flash tube in 1931, which became the main characteristic of electronic flashes. The final step came with LED flashes in the year 2000, making it cheaper and improved storage capacity.
With smartphone photography's rise, camera phones now use an LED light as their built-in flash unit. Still, the problem remains with flash exposure not being consistent or well-timed for each shot. Despite this issue, using a studio monolight or professional electronic flash units can take up to ten images per second with consistent lighting.
A fresh viewpoint: Iphone Camera
1. What is Flash Photography Good For?
Flash photography is a popular photographic genre that uses artificial light sources to produce images. Credit Travis Nesbitt for this stunning photography technique that can be used in various situations. This creative style of photography is perfect for capturing moments and enhancing the quality of your pictures.
Flash photography is ideal for photographers who want to control the lighting in their shots, especially when working under challenging light conditions. It's a great way to add more light to a dark scene or fill in shadows created by natural light sources. Additionally, flash photography can help freeze the motion of moving subjects and make them appear sharper in your images. Understanding camera settings such as shutter speed, aperture, and ISO are crucial when taking flash photographs to ensure you get a well-balanced image. By learning how to use flash effectively, you'll be able to capture stunning photos even in common situations where natural light isn't enough.
For more insights, see: Ring Light
2. Types of Flash in Photography
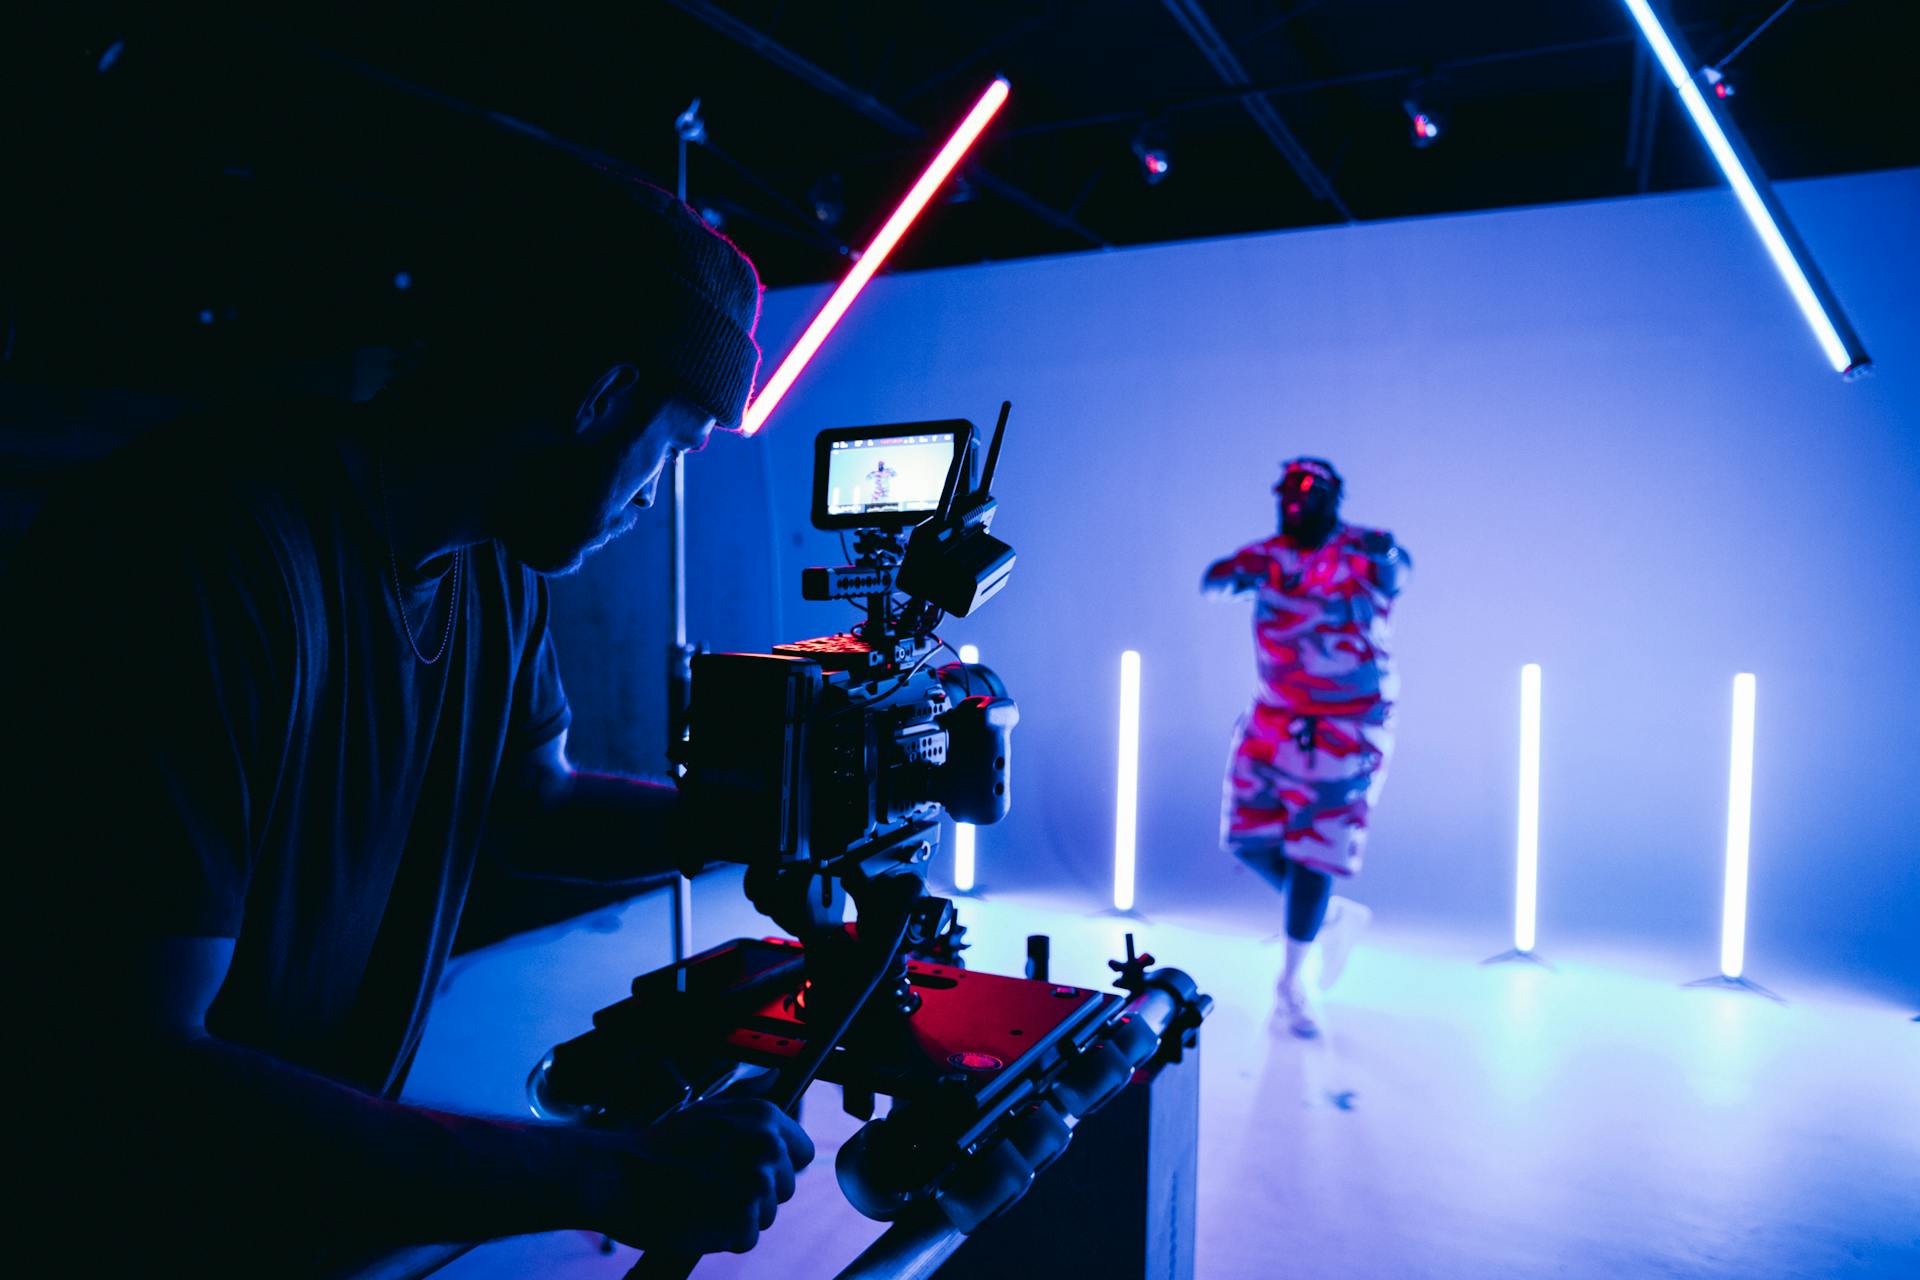
Flash photography is all about using a tiny light to illuminate your subject. There are several types of flash, ranging from the big studio strobe to camera flashes. The type of flash incorporated into your camera depends on the camera type, with most cameras having a pop-up flash or built-in flash. Camera phones and disposable cameras usually come with an LED flash that works well in low light situations. When shooting with mirrorless cameras or DSLRs, the built-in flashes fire automatically in auto mode and can be used in fill mode, slow sync, or red-eye mode.
On-camera flashes are general devices that attach to the hot shoe on top of your camera. Proprietary names for these flashes include speedlights for Canon and Nikon flashes. These flashes are designed to work seamlessly with your camera and will fire when you press the shutter release button. Off-camera flashes can also work manually by adjusting the flash exposure, zoom control, high-speed sync, TTL or manual modes depending on what you’re shooting.
Professional lighting devices called strobes require electrical power; you’ll need a power pack if you want to use them for studio photography. Battery-powered flash heads can also be used for soft flat lighting for beauty photography, macro photography, or any other situation where you don't want harsh shadows that won't cast on a close subject. Whatever type of flash head you choose for your photography needs, it's important to remember that different situations call for different kinds of lighting setups!
Related reading: Fisheye Lens Camera Tips
3. TTL vs Manual Flash: What’s the Difference?
When it comes to flash photography, there are two main modes to choose from: TTL and manual flash. The difference between the two lies in how they determine the flash exposure. TTL (through-the-lens) mode is an automatic mode where the flash reads the ambient light coming through the lens and emits a pre-flash light for a short burst of time before taking the photo to calculate the required flash exposure. On the other hand, manual flash requires you to set your own power output by either using full power flash or adjusting it manually using an external light meter.
The advantage of TTL is that it's quick and easy to use, ideal for situations where you need to take photos quickly without worrying about manual settings. Manual mode, on the other hand, gives you complete control over your flash exposure and allows for more creative freedom when it comes to lighting your subject. Whether you choose TTL or manual flash, understanding how each one works will help you get better results in your flash photography.
On a similar theme: Long Exposure Photography
4. What Are Flash Modifiers?
Flash modifiers are accessories that can be attached to a camera flash to modify the light beam it emits. They are used in flash photography to soften, diffuse or bounce light, and enhance the quality of images captured. A flash modifier turns hard light into diffused light by scattering it over a larger area, which reduces harsh shadows and creates a more natural look.
There are many types of flash modifiers available, including bounce cards, softboxes, umbrellas, and beauty dishes. Some modifiers come with color gels or filters that add color tint to the photographs taken, while others allow you to control the direction and intensity of the light beam. Flash modifiers are essential tools for photographers who want to take their flash photography skills to the next level and produce high-quality images with stunning lighting effects.
Broaden your view: Create Fantastic Light Orb Images
Master Low Light Photography With Slow Sync Flash
If you've ever tried taking photos in low light situations, you know that it can be a challenge to capture a clear and sharp image. This is where slow-sync flash comes in. By using a combination of slow shutter speed and flash, you can freeze subject movement while maintaining background movement. Rear curtain sync is also useful for capturing a frozen subject at the end of the exposure when the flash fires. So, next time you're shooting in low light conditions with a moving subject, try experimenting with slow-sync flash to capture stunning and dynamic images.
Worth a look: Slow Shutter Speed
Get the Best Photos with Flash: Proven Tips to Try
10 Tips for Flash Photography: Get the Best Photos with Flash! Whether you're a beginner or advanced photographer, understanding flash photography is essential to capturing great photos. From adjusting your flash intensity to experimenting with angles and distance, these 10 tips will help you take your flash photography game to the next level. So grab your camera, and let's get started!
Additional reading: Home Photography Idea Powerful Photos
1. Learn Settings and Modes to Sync the Flash and Camera
One of the most important settings to master in flash photography is how to sync the flash and camera. This involves understanding how the camera and flash communicate, and which settings are required to ensure that the flash provides the correct amount of light for the shot. One key factor is lens TTL metering, which measures the light output from the lens and adjusts the flash accordingly. Other important factors include ISO settings, shutter release, and ambient light.
In automatic modes, your camera will adjust its exposure settings based on its current exposure setting but with flash TTL (Through The Lens), it's different. In manual mode, you can use a flash sensor that measures how much light is being put out by your flash so that you can set a correct exposure manually. The camera's light meter is used in conjunction with this information to determine what combination of aperture, shutter speed, and ISO will give you a properly exposed image. Understanding these basic concepts is essential for anyone looking to take great photos with their camera flashes!
If this caught your attention, see: Double Exposure Photography
2. Use Your Flash For the Best Lighting Outcomes
Using flash photography can greatly enhance the outcome of your photos, especially in situations where natural light or ambient light is not enough. Adding an extra light source minimizes shadows and allows you to control where the light falls on your subject. By placing the flash opposite to the main light source causing the shadow, you can create a more even lighting effect.
However, using flash can also be challenging when dealing with moving subjects or slow shutter speeds, which may result in a half-frozen impression. In these cases, it's important to balance the flash with the background light, as a strong backlight can diminish the effect of your flash. On dull or cloudy days, introducing sunset or other strong light sources in the background helps add life to your photos and challenges you to find the right balance between your flash and ambient light.
If this caught your attention, see: Low Light
3. Use a Flash to Correctly Expose an Image
Using a flash is one of the essential flash photography tips to capture well-balanced exposure in your photos. Sometimes, unbalanced settings lead to an imbalance in your images, especially when shooting in low-light situations or with an excess of ambient light. To avoid this issue, use manual mode settings and take an exposure reading from your cameras' exposure meter before taking the shot.
When using on-camera flash, make sure to adjust the flash's power to ensure it illuminates the subject with just the correct amount of light. By doing this, you can avoid creating underexposed or overexposed photos that may ruin your shots. In addition, be mindful of ambient light and how it affects your camera's exposure when using a flash. With these tips in mind, you can effortlessly capture beautiful moments like a young woman dancing without worrying about imbalance photos.
Consider reading: Capture Perfect Panning Shots
4. Flash Photography and Shutter Speed
Shutter speed is a key factor in flash photography. The faster the shutter speeds, the less ambient light will impact your flash exposure. Modern cameras limit you to a max sync speed, but higher-end cameras can go beyond that with dedicated flash units. When shooting in bright sunshine, you may need to use a faster shutter speed so the ambient light doesn't overpower the flash output. Conversely, when shooting in darker conditions, a slower shutter speed can allow more ambient light into the shot while still having sufficient flash output.
In addition to affecting ambient light, shutter speed also affects how quickly your flash recycles and fires again. A faster check will fire sooner and allow for faster shutter speeds, while a slower check will require a wider aperture and slower shutter speed to properly expose the image. Understanding how shutter speed interacts with ambient light and flash output is crucial to achieving proper exposure in your flash photography work.
Curious to learn more? Check out: Shutter Speed Sports
5. Change Aperture Settings for Motion Blur and More Light
When it comes to flash photography, understanding aperture settings is essential. The aperture setting determines how much light enters the camera's sensor, affecting both the flash output and ambient light. By manually checking and adjusting the aperture setting, you can achieve a good exposure, even in a dark room with falling coffee beans.
In addition to adjusting aperture settings, controlling shutter speed can also influence motion blur and ambient light. A slower shutter speed allows more ambient light to enter the camera's sensor, creating a more natural look. However, this may cause motion blur if subjects are moving quickly. Sync range is also important to consider when using flash manually or with auto-flash settings. Understanding these camera exposure settings will help you take control of your flash output and achieve perfect shots every time!
A unique perspective: Small Aperture
Frequently Asked Questions
Is flash good for portraits?
Flash can be good for portraits as it helps to provide additional lighting and fill in shadows, but it depends on the specific situation and desired effect. It's important to understand how to use flash correctly and avoid harsh or unflattering results.
What are the benefits of flash photography?
Flash photography can provide consistent lighting in low-light situations, freeze motion, and enhance details in an image.
How do you use a flash?
To use a flash, attach it to your camera's hot shoe or hold it off-camera and trigger it wirelessly. Adjust the flash output to balance with available light and experiment with different angles for best results.
What can you learn from Norton’s flash photography lessons?
Norton's flash photography lessons can teach you how to master lighting, control shadows, and capture stunning images in any setting.
What to watch out for when shooting with a flash?
When shooting with a flash, be aware of the direction of light and avoid harsh shadows. Use diffusers or bounce cards to soften the light and prevent overexposure.
Featured Images: pexels.com