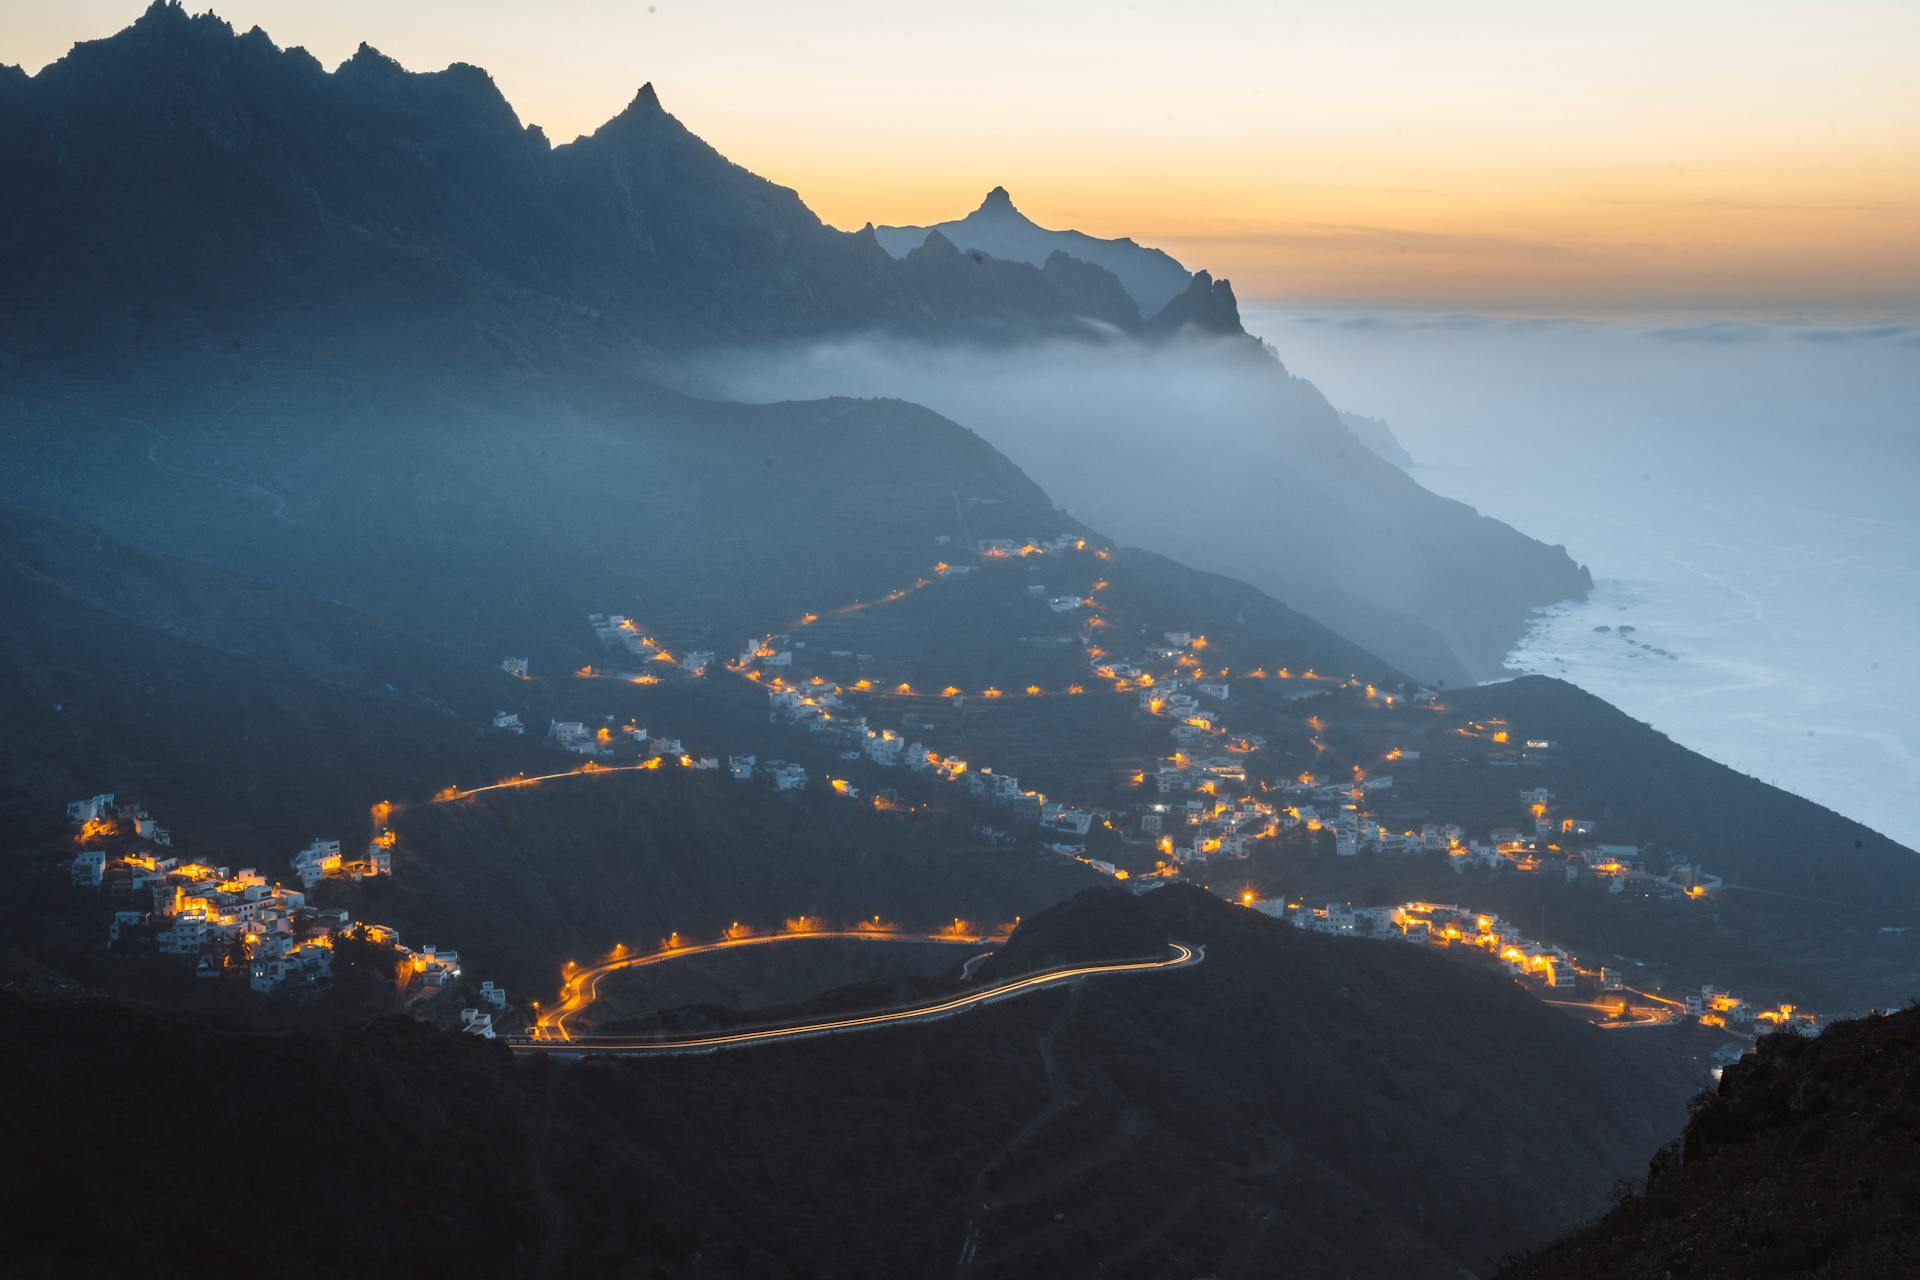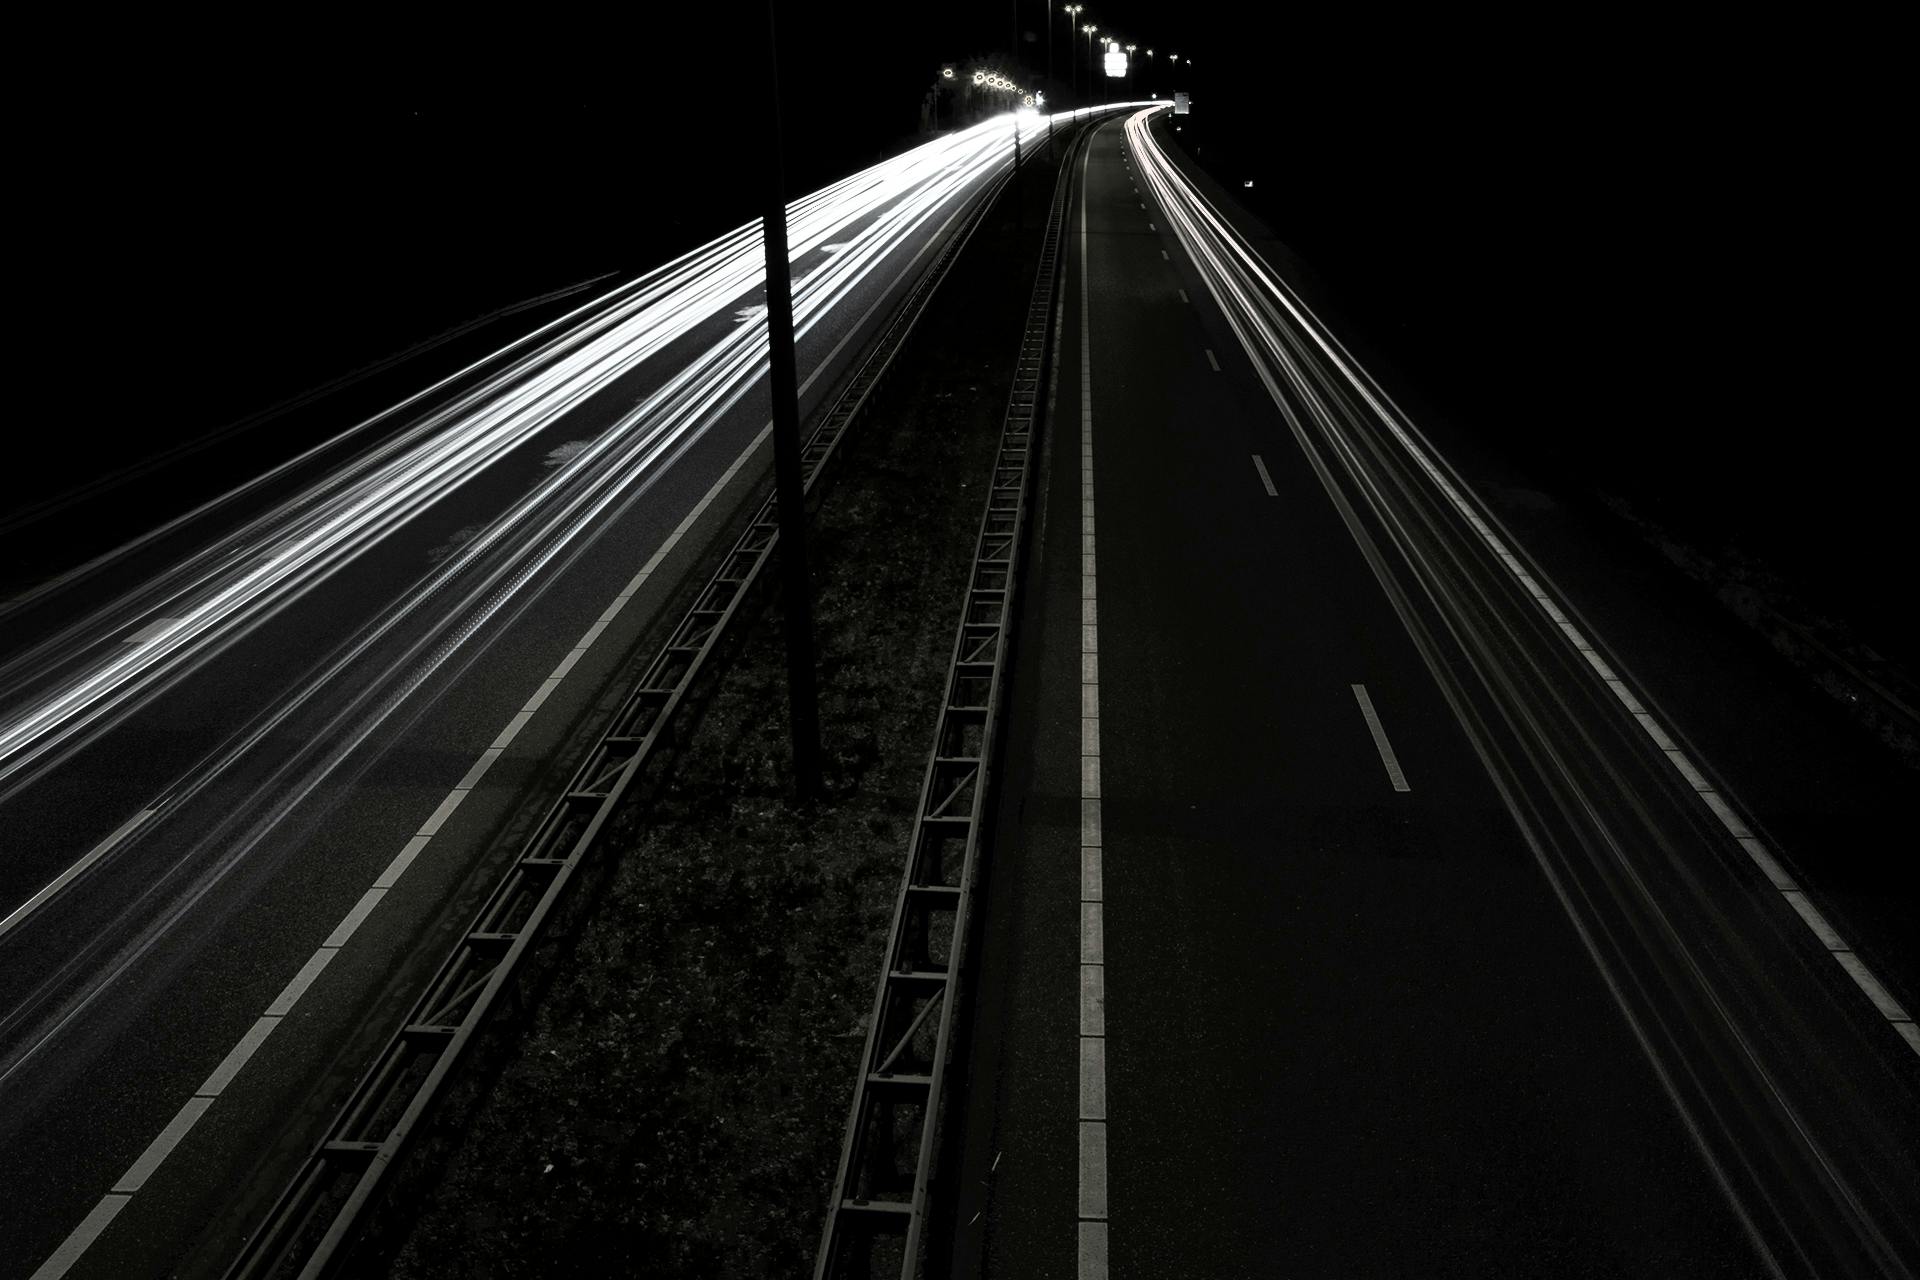
Dark long exposures made simple - this powerful tool is essential for any night photographer. Whether you're shooting in ultra-low light levels or high contrast, long exposure night photography can create stunning images that capture the essence of a scene. The B setting on your camera allows you to open your shutter for a lot longer than normal - up to 30 seconds or more - and is one of the essential must-haves for this mode of photography.
To take advantage of dark long exposures, you'll need to understand some basic settings on your camera. Shutter speeds, aperture, ISO settings, and metering modes all play a role in capturing the perfect shot. Additionally, tripods and remote releases are also important tools to have at your disposal when working with longer exposures.
The simple bit is that once you have these settings dialed in, taking a long exposure becomes a breeze. With just a few simple adjustments, you can turn even the darkest scenes into beautifully lit works of art. So if you're looking to explore the world of long exposure night photography, read on as we dive into why the B setting is your best friend after dark!
Broaden your view: Long Exposure Photography
Step 3: Set up the right gear (including a tripod)
Long exposure photography isn't as difficult as it may seem, but it does require some special gear. Fortunately, it's not gear-intensive and you probably already have most of what you need. If you have a mirrorless body camera or one with in-body image stabilization, you're already one-hundred percent ahead of the game. The most important piece of gear for long exposure shots is a tripod because it keeps your camera steady during the five-second to ten-second or even ten-minute exposure.
Investing in a quality tripod that can withstand significant wind is worth it because it'll pay off in the long run. Without a sturdy tripod, you risk getting blurry shots due to camera shake. Along with your tripod, other relevant accessories include a filter holder for drop-in filters, remote shutter release or remote shooting app, and your camera's self-timer. When using these tools, your long exposure shooting process will be smooth and stress-free.
After setting up your tripod and attaching your filter holder and filters, all that's left is to mount your lens and wait for the perfect moment to capture the shot. With these tips in mind, you're well on your way to creating stunning long exposures that stand out from the crowd!
Curious to learn more? Check out: Fisheye Lens Camera Tips
Wrapping Up Long Exposure Photography: Concluding Thoughts
Wrapping up our simple guide to long exposure photography, we hope that you've learned a lot and found it easy to understand. Indeed, long exposure photography isn't as complicated as it seems, and with the right tools and techniques under your belt, you'll be taking stunning shots in no time.
Remember that the key to mastering long exposure photography is patience and practice. Don't be afraid to experiment with different settings and compositions, and always keep an eye on your camera's battery life. With these tips in mind, capturing breathtaking images of starry skies or cityscapes at night will be a breeze. So go ahead and try it out – you might just surprise yourself with what you can achieve!
A fresh viewpoint: Double Exposure Photography
Appreciating the Elegance of B Mode: An Insightful Read

Have you ever found yourself trying to shoot a beautiful night scene, only to have your light meter struggle and give you inaccurate readings? This is where B mode comes in handy. Unlike other modes that rely on exact numbers and precise calculations, B mode allows for a simpler try-it-and-see process that can make sense even to beginners.
With B mode, you can shoot judge exactly how long your exposure needs to be, whether it's a 15-second exposure or even as long as 60 seconds. Using a split-second stopwatch or a simple black card to cover the lens can help you continue exposures without worrying about things happening while the shutter is open - like bright headlights passing by or an annoying bystander wandering into your shot.
The key motto with B mode is discovering textures and colors that may not be visible to the naked eye. By using tripods and remote releases opens up unlimited access to shadow details that would otherwise go unnoticed. So if you're tired of reading 5 articles just to figure out how to capture that perfect night shot, give B mode a try and see what elegance you can uncover in your photography.
Step 5: Set the exposure
Setting the correct exposure is essential when shooting long exposures. Start by setting your camera's lowest native ISO, usually ISO 50 or ISO 100, to reduce noise in your final image. If you need more light, increase it to ISO 200 but be aware that this will also increase noise.
Next, set your shutter speed based on your cameras recommendation or a test shot. The goal is to have a correctly exposed image without any overexposed or underexposed areas. If your histograms are skewed completely to the left side indicating overexposure, try reducing your shutter speed or using exposure compensation. On the other hand, if your test shot comes out too dark, increase your shutter speed until you've nailed the correct exposure.
A side note: there is no universally correct result when it comes to long exposures as each scene and camera settings will vary. However, there are universally incorrect results such as an overexposed or underexposed image with blown highlights or loss of detail in shadows. So take multiple test shots and adjust accordingly until you achieve a successful write.
For more insights, see: Lightroom Noise Reduction
Step 4: Compose the image and lock focus
Now that you have set up your camera on a tripod and adjusted the settings, it's time to compose your shot. You'll want to make sure that everything in the frame is aligned properly, and that your main subject is in focus. To ensure that the entire shot is sharp, you can use the hyperfocal distance or a depth of field calculator.
If you're struggling with getting your subject in focus, it may be best to switch to manual focus. Use your lens's focus ring to adjust until your main subject is in focus. If you prefer to use autofocus, make sure that the active autofocus point is right on your main subject. Half-press the shutter button to engage autofocus and wait for it to confirm before taking the shot.
Once you've composed your image and locked focus, it's important to remain locked. Accidentally pressing the shutter button can cause the focus to shift and ruin your shot. To avoid this, you can switch off autofocus or set it to back-button focus. This way, when you press the shutter button, only the exposure will be triggered, and your focus will remain locked in place.
A unique perspective: How to Use Lightroom
Verify Your Image Quality with this Crucial Step 9 Check
Once you have finished capturing your dark long exposures, it's time to take a shot check. This final precaution will ensure that you've accomplished your mission and feel proud of the results. To carry out this step, take a test shot using the same settings as your previous shots.
Now that you have your test shot, compare it to the others you've taken. Ensure the image quality is approximately equal in terms of sharpness, focus, and exposure. If there are any discrepancies, don't panic! Just review your camera settings and repeat the process until you get it right. Remember to keep an eye on your shutter speed too; it can play a crucial role in determining the quality of your long exposure shots. With this vital step completed, you're now ready to showcase your beautiful images for all to see!
Expand your knowledge: Capture Perfect Panning Shots
Discover Our Newest Buying Guides for Smart Shopping

Are you interested in capturing fast action and family moments? Do you enjoy shooting sports or independent productions? With increasingly specialized options costing less than professional film productions, it's never been a better time to invest in your favorite cameras. In our latest buying guide, we've rounded up the best current interchangeable lens cameras costing under $1,000 that offer professional-level image quality.
When searching for great cameras for shooting sports or action fast continuous shooting reliable autofocus, there are important factors to consider such as great battery life and burst mode speed. Our buying guide includes camera reviews, lens reviews, printer reviews, and sample images to help you make an informed decision. We also offer interest-based ads and editorial enquiries to provide personalized recommendations based on your camera search or camera comparison needs.
If you're looking for capable cameras that won't break the bank, check out our product timeline for the latest deals on top-rated models. Our community guidelines ensure that all user-generated content is safe and respectful of others' opinions. Whether you're a beginner or a seasoned pro, our buying guides make it easy to find the right gear for your next shoot.
Curious to learn more? Check out: Shutter Speed Sports
Step 6: Add your filter
Now that you've set up your camera for an ultra-long exposure, it's time to add a neutral density filter. If you're shooting filterless, this step is crucial for getting those long exposure shots just right. A good idea is to use a strong 10 stops ND filter, which will allow you to shoot in the thirty-second range without overexposure. Once you've added your filter, take a look at the live view on your camera to ensure that you're still able to see what you're shooting. Shooting blind can result in less-than-stellar images, so it's important to make sure everything looks good before pressing the shutter.
Adding a neutral density filter may seem like an extra step, but it can make all the difference when it comes to achieving those dark long exposures. By reducing the amount of light entering your lens, you'll be able to capture stunning images with smooth water or streaking clouds. So don't skip this step! Just remember to keep an eye on your live view and adjust as necessary. With practice, adding a filter will become second nature and you'll be capturing amazing long exposure shots in no time.
Expand your knowledge: Iphone Camera
Frequently Asked Questions
What is long exposure in landscape photography?
Long exposure in landscape photography is a technique where the camera's shutter is open for an extended period of time, often several seconds or even minutes, to capture movement and create unique and stunning images of waterfalls, stars, clouds, and other natural elements.
Why should you take long exposure photographs at night?
Taking long exposure photographs at night can result in stunning images with unique light trails, starry skies, and a sense of stillness that cannot be captured during the day.
Should you extend the duration of your exposure?
It depends on your desired outcome and the nature of the subject you are photographing. If you want to capture more detail or movement, extending the exposure can be beneficial, but if there is too much light or movement in the frame, it may result in overexposure or blur.
How to take long exposure images at night?
To take long exposure images at night, you will need a tripod, a camera capable of manual settings, and a remote shutter release. Set your camera to manual mode, adjust the aperture and shutter speed, set the ISO to its lowest setting, and use the remote shutter release to minimize camera shake.
Where is the best place to shoot long exposure photography?
The best place to shoot long exposure photography is in areas with minimal light pollution and interesting subjects such as cityscapes, waterfalls, and starry skies.
Sources
- https://www.digitalcameraworld.com/tutorials/why-the-b-setting-is-your-best-friend-after-dark-long-exposures-made-simple
- https://www.dpreview.com/articles/7001476103/season-of-light-plan-your-long-exposures-this-winter-with-one-simple-process
- https://digital-photography-school.com/step-by-step-guide-to-long-exposure-photography/
Featured Images: pexels.com
