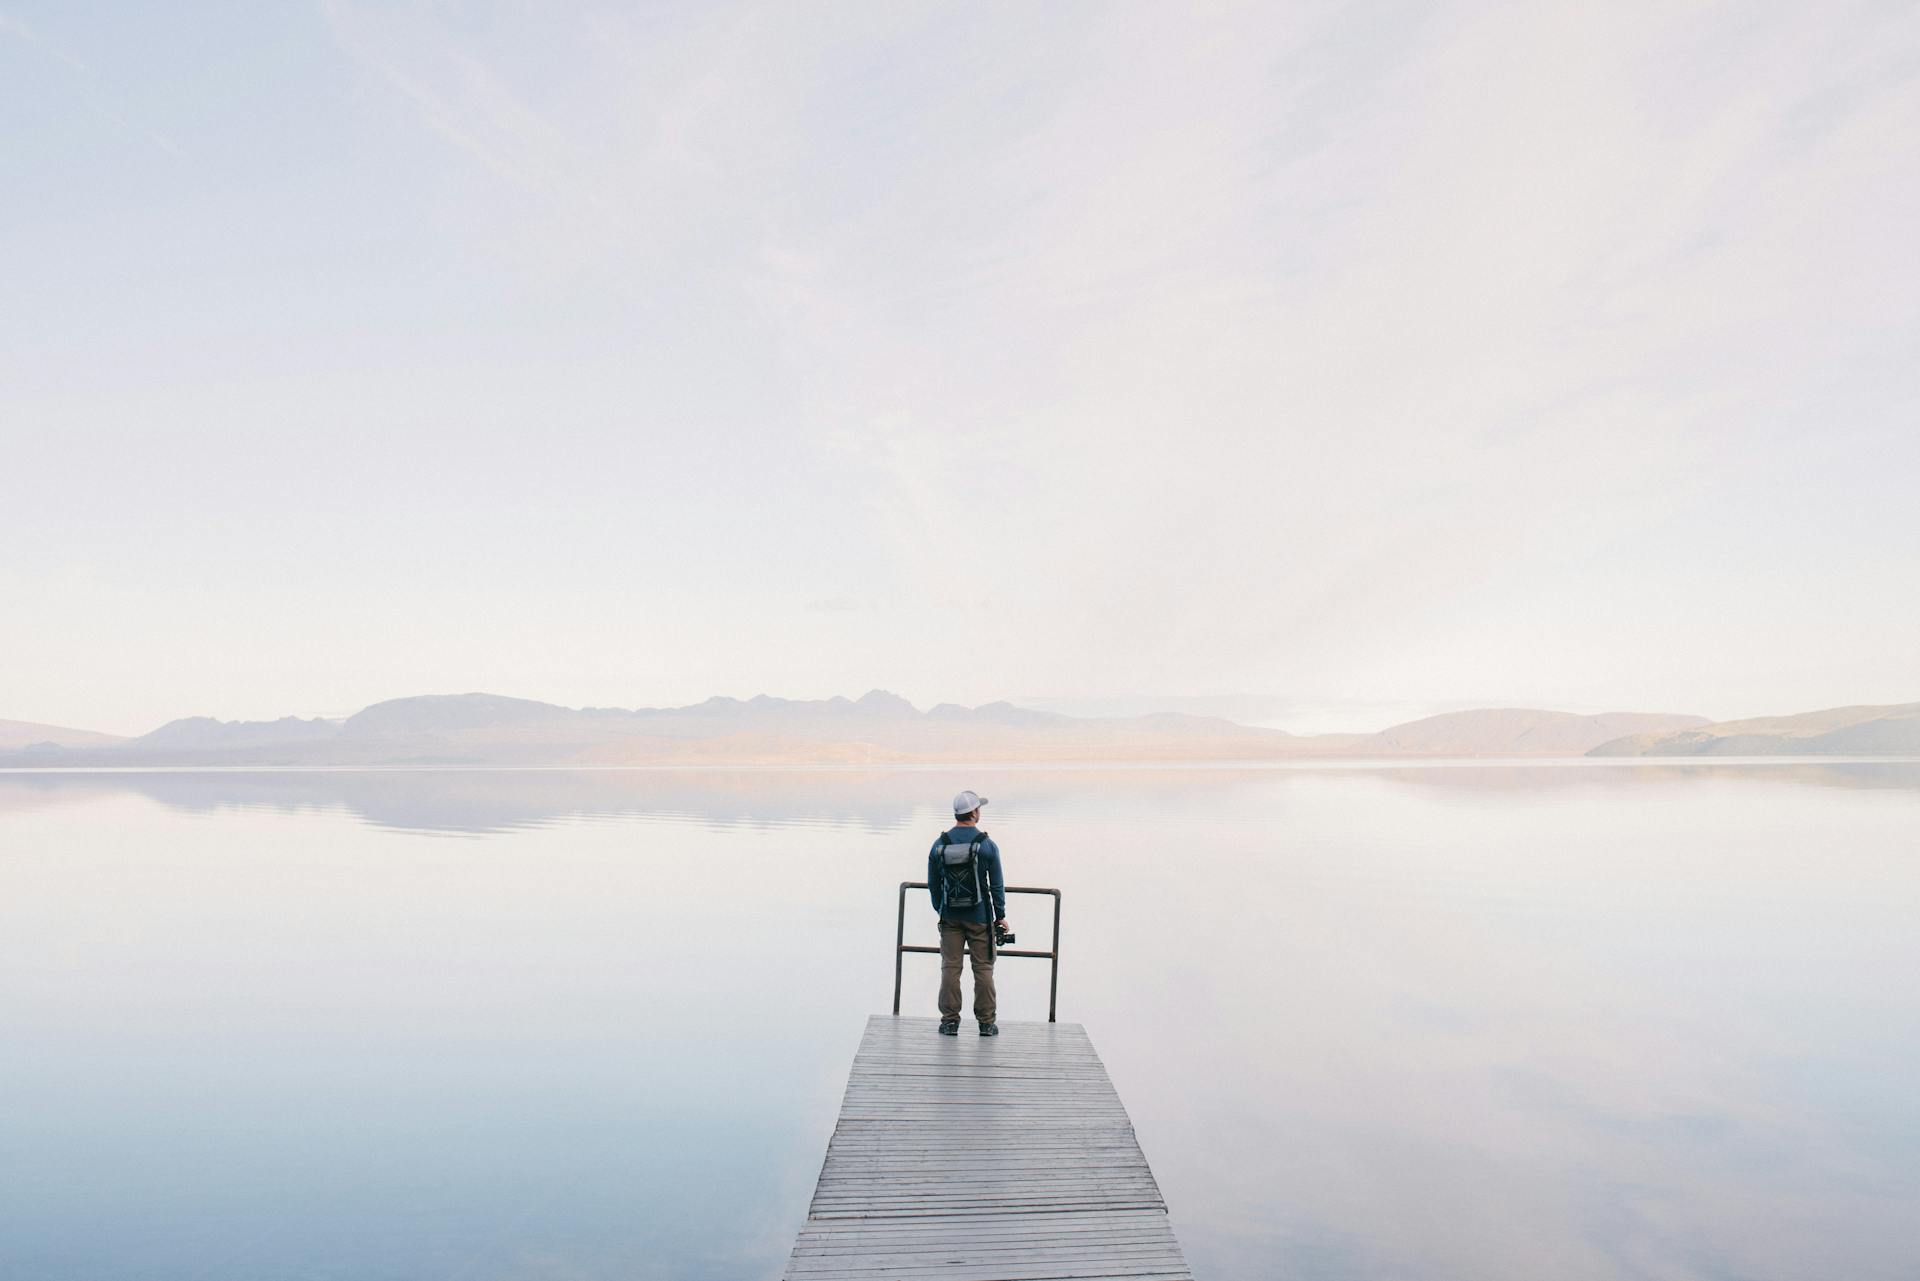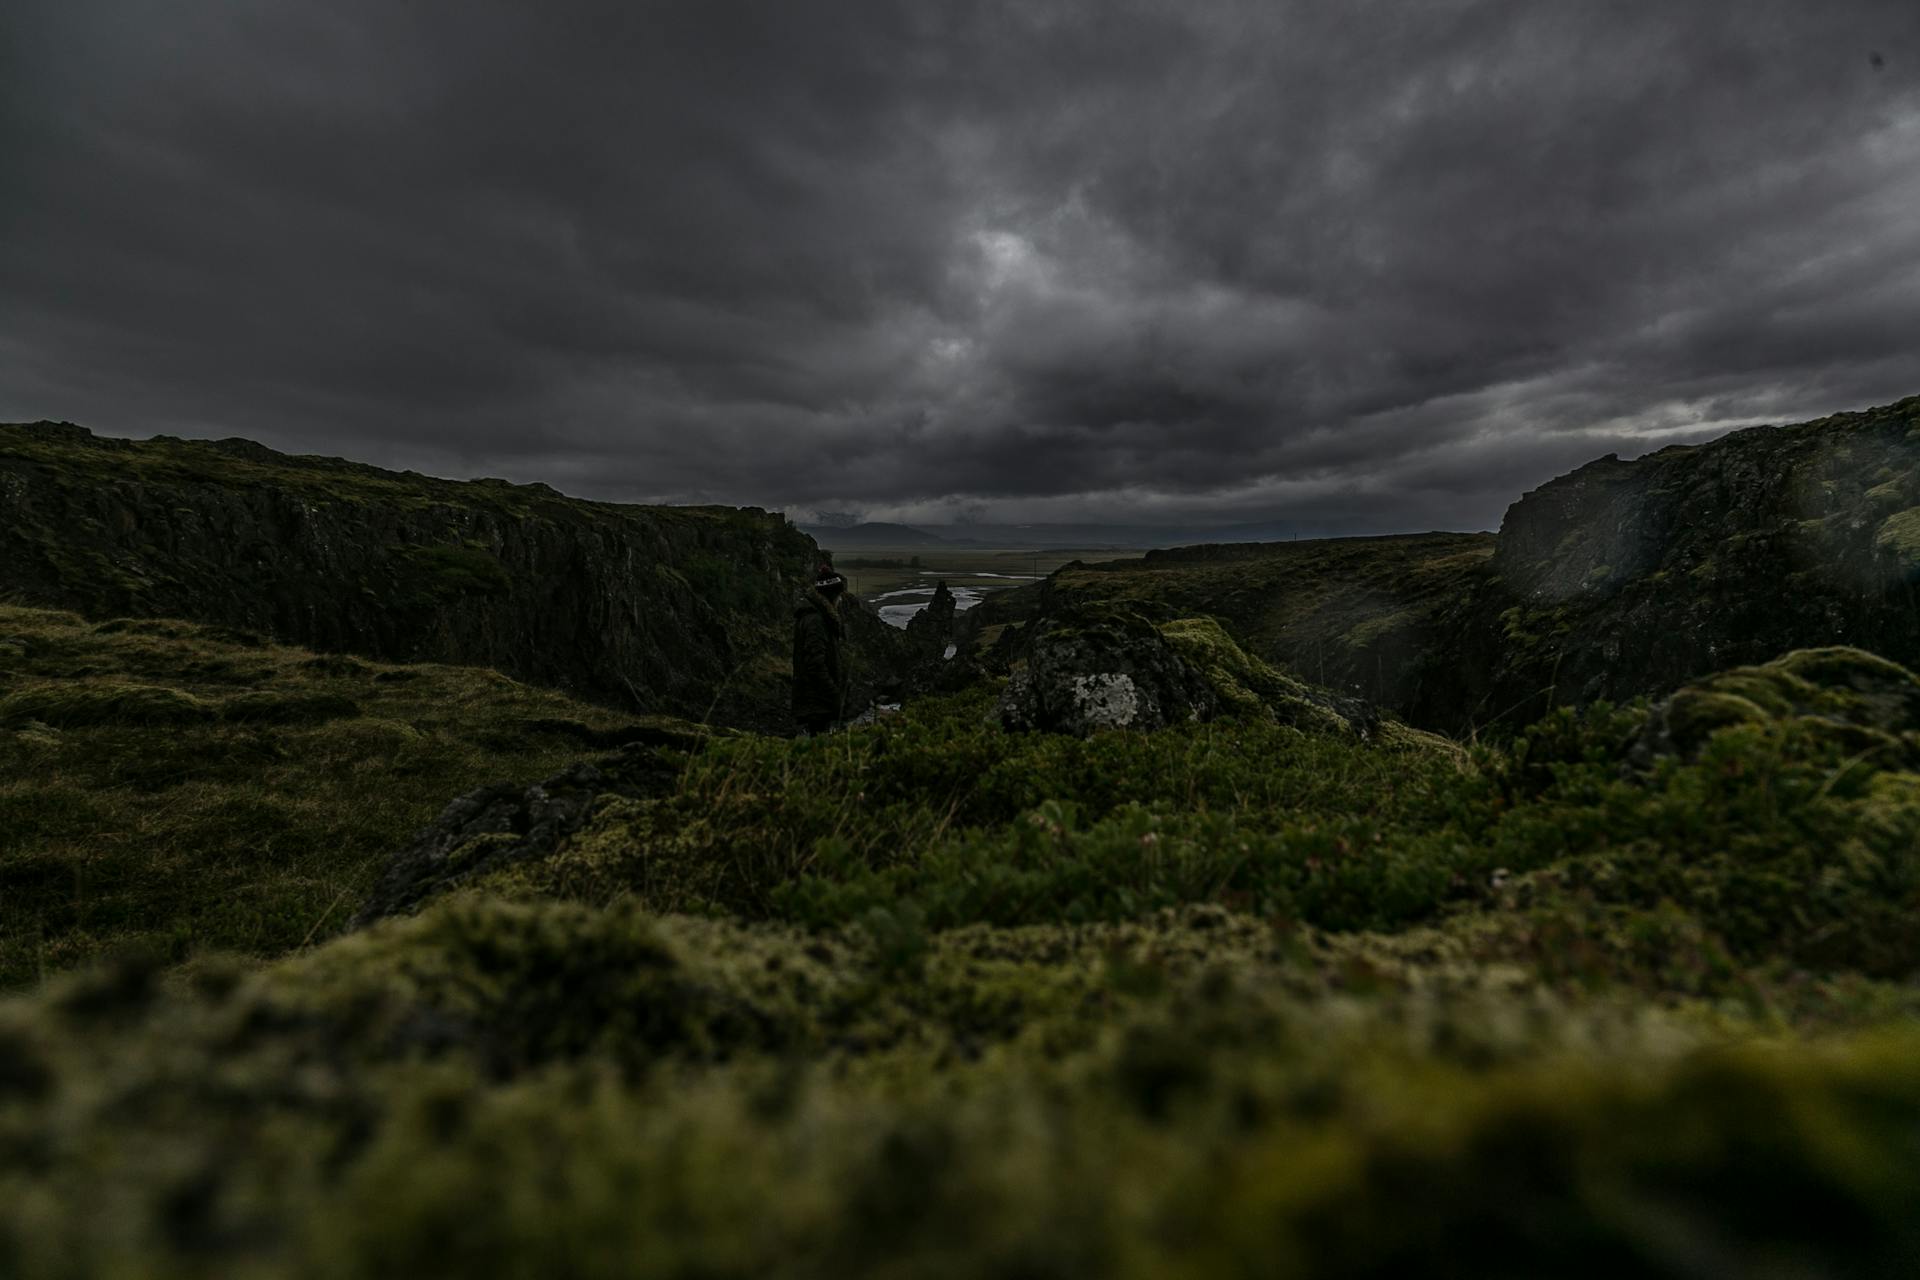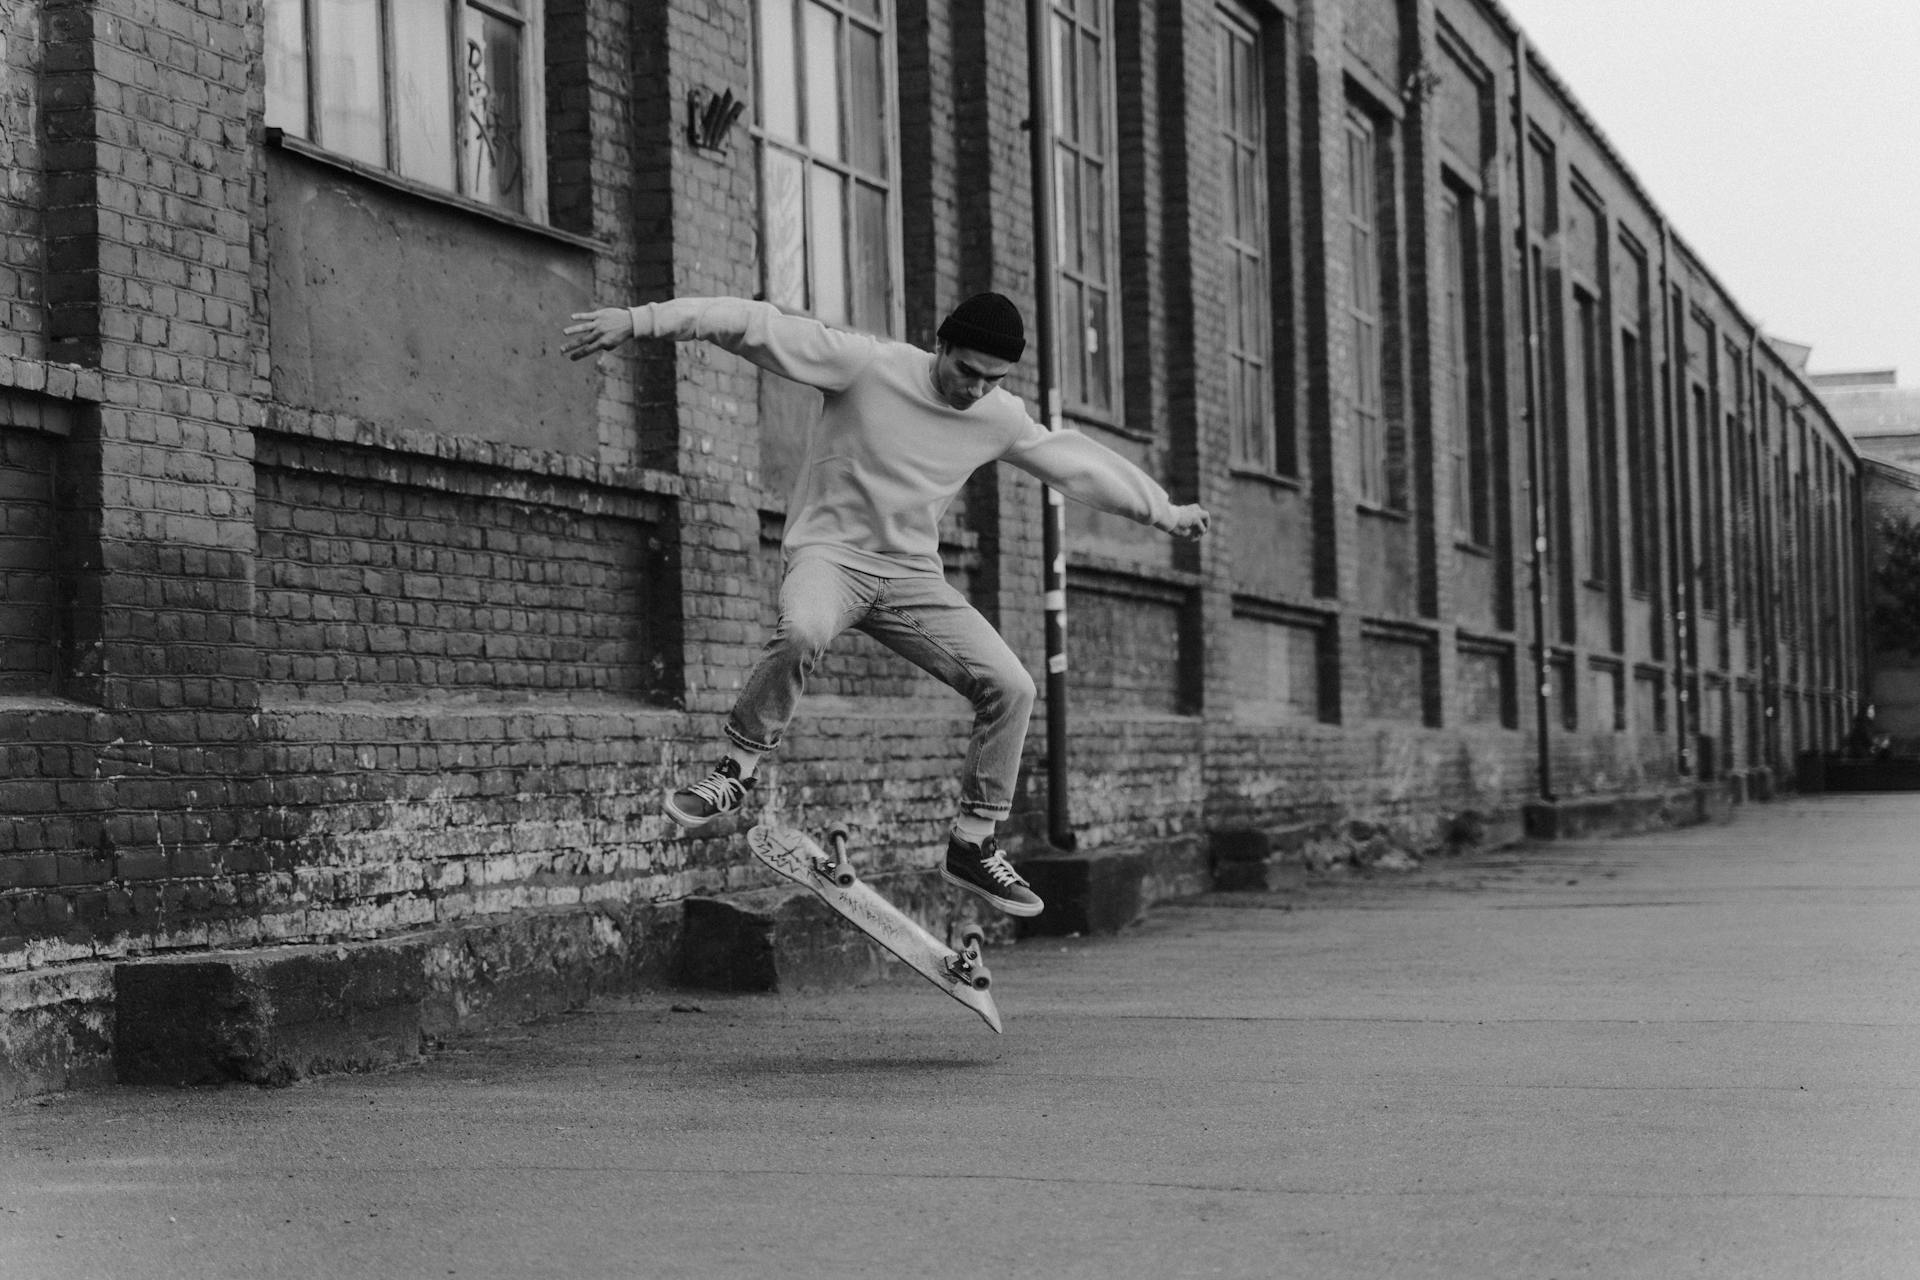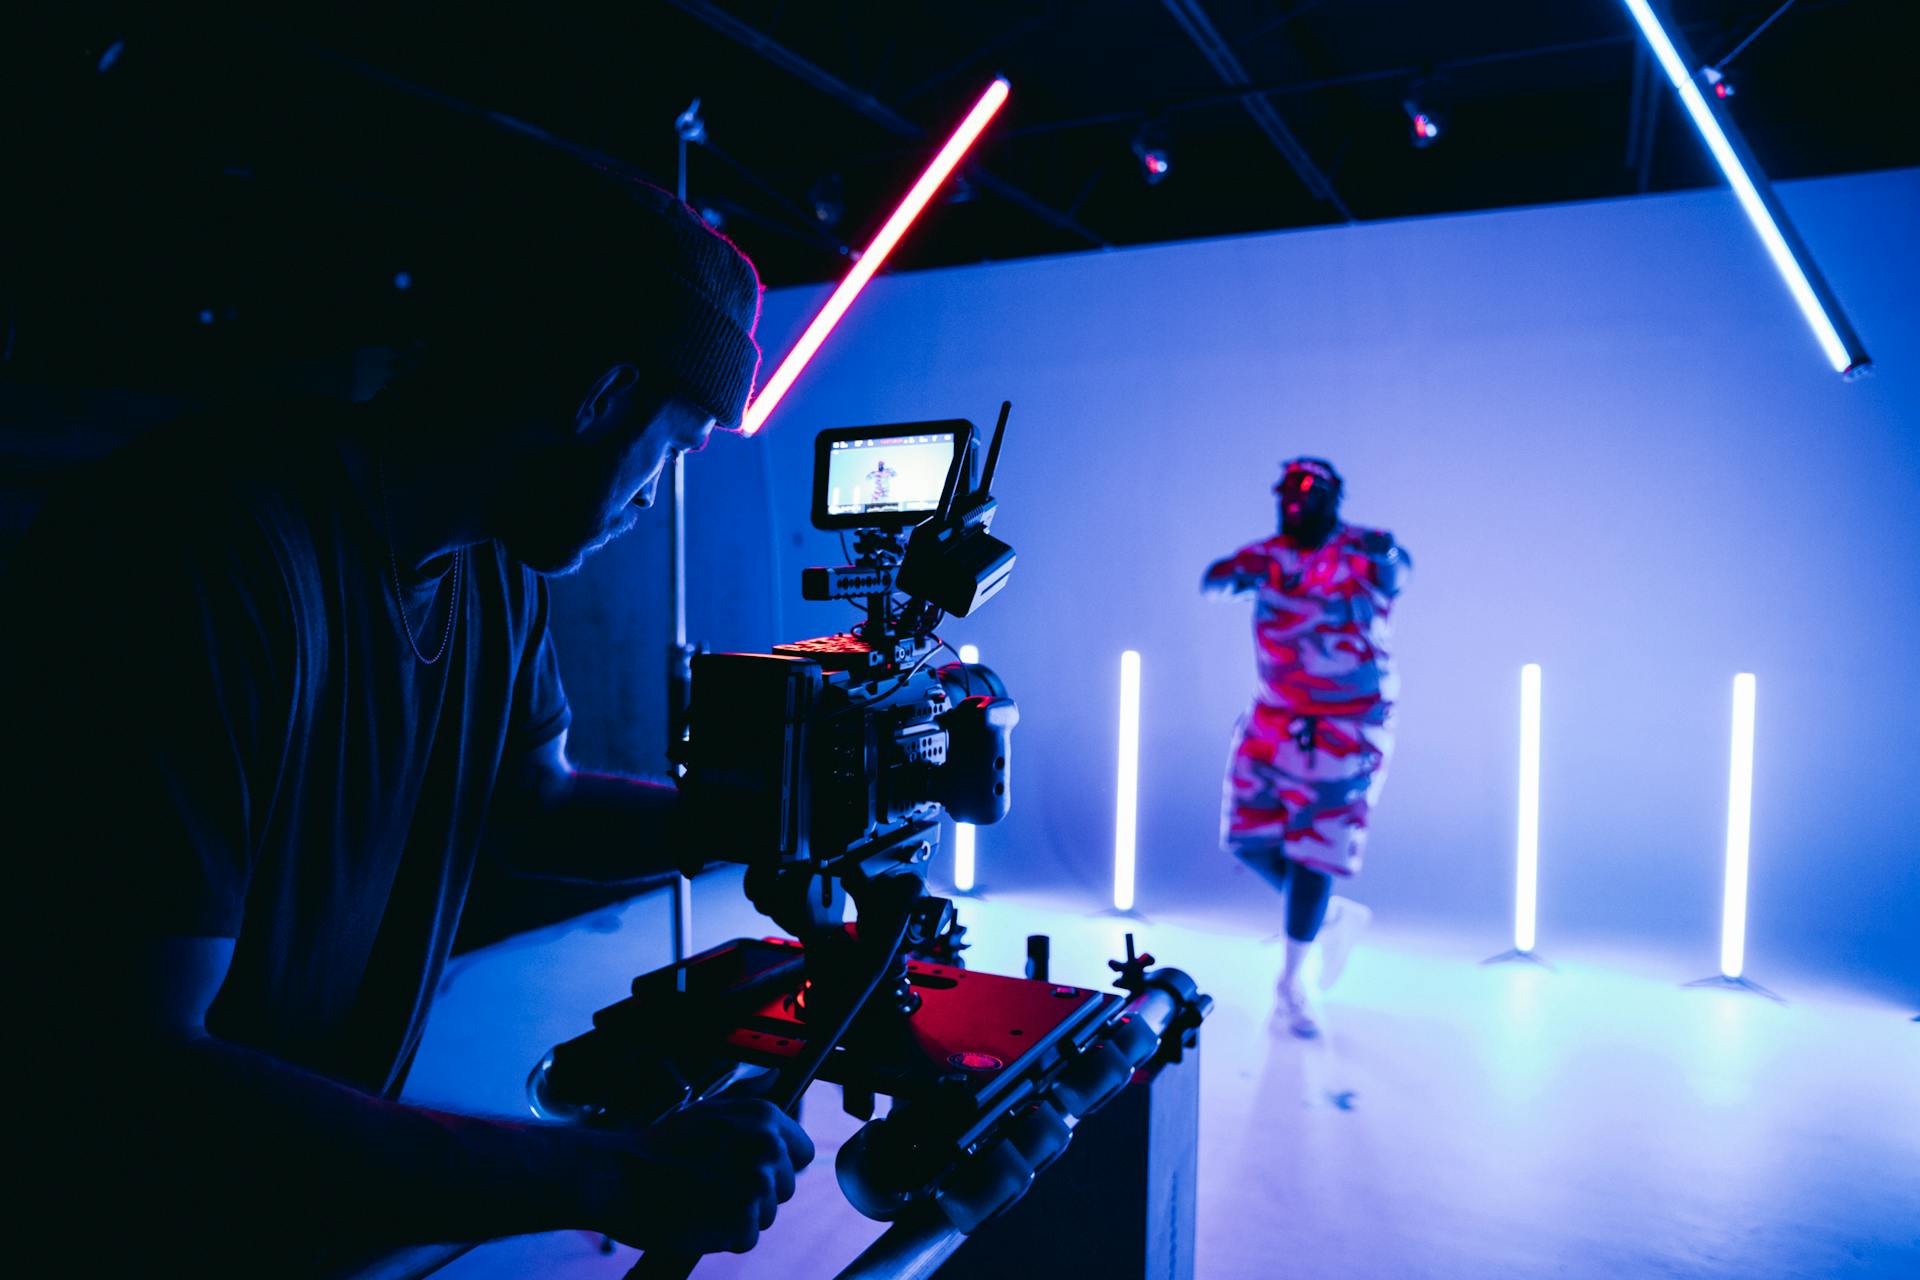
If you're interested in capturing captivating fog photography, then you've come to the right place. My name is Ana Mireles, and I absolutely love fog photography. The simplest subjects can be transformed into a moody atmospheric image on a foggy day. It's the perfect situation for stunning pictures that will have you coming back for more.
Foggy conditions may seem challenging at first, but with the right tips and essential gear, shooting landscapes in this weather can produce some of the most breathtaking images. Gone are the days where a dull landscape and a grey washed-out sky ruin your photoshoots. In this article, you'll learn all about my favorite fog photography tips to help you achieve those dreamy shots.
Enhancing Your Fog Photography: Tips for Post Processing

If you're a photographer who loves to shoot fog photography, you know that it requires a little more than just taking the picture. You're post-processing plays a crucial role in making your fog photos look their best. One of the biggest problems with fog photography is the color cast depending on weather conditions. To combat this, adjust your white balance and temperature slider to achieve a good balance.
As mentioned earlier, one of the biggest problems with fog photography is the low contrast. Editing photos taken on foggy days increase dynamic range and black points can introduce contrast without losing too much detail or introducing noise. Use the dehaze tool carefully, as it can create noise and deep shadows if overused. It's essential to avoid clippings in both highlights and shadows, so use the noise reduction slider to make sure everything looks smooth.
Fortunately, fog photography allows for some creative experimentation with your editing process. In addition to your usual editing workflow, consider adjusting your image alternatively through color grading - also called split toning - where you can affect colors independently in different parts of an image. With these tips in mind, you'll be able to enhance your fog photos and create stunning works of art!
Suggestion: Lightroom Noise Reduction
Tips for Fog Photography: How to Achieve a Mystical Photoshoot
Fog photography is a fantastic way to add an extra element of mystery and mood to your photos. But what is fog, exactly? Essentially, fog is just water vapor that has reached ground level. It can form due to a variety of reasons, including temperature changes or humidity levels. There are also different mist types appearing depending on the weather conditions such as radiation fog, upslope fog, steam fog, and more.
Now, you might be thinking that all this talk about different types of fog sounds confusing - but don't worry! We've put together some tips to help you capture stunning and mystical fog pictures. First off, it's important to experiment with your camera settings. Adjusting your aperture and shutter speed can make a big difference in how your photos turn out. Additionally, try shooting from different angles or heights to get unique perspectives on the misty landscape.
Another tip for capturing beautiful fog photoshoots is to look for interesting subjects within the mist. Whether it's a lone tree standing in the haze or a group of people walking through the foggy landscape, finding focal points can really enhance your images. Finally, don't be afraid to play around with post-processing techniques like color grading or adding filters - these can help bring out the atmosphere of your mystical fog photoshoot even more.
Expand your knowledge: Home Photography Idea Powerful Photos
1. Be Mobile
Shooting fog photography can be a challenge, but being mobile is key to capturing the perfect shot. Fog flows like a swirling moving mass and atmospheric conditions change quickly, so constant shooting and adjusting is necessary. Pay attention to how light hits the fog and make sure your camera settings are longer set correctly for the depth and mood you're shooting.
When you're shooting from higher ground or a cliffside, don't forget to bring back some perspective. A slight angle change can make all the difference in capturing the beauty of the swirling fog. Keep in mind that shooting angle and composition are just as important as technical settings. With patience, practice, and mobility, you'll be able to create stunning images that capture the ethereal nature of fog.
2. Layer Your Shots
Layering objects in fog photography is a great way to add dimension and create contrast. The thick swirling mass of fog makes for an excellent opportunity to layer objects, creating distance between them and the viewer. Simple fog shots can appear flat and washed out, but by layering the fog with objects such as trees jutting out or mountain tops, you'll draw the viewer's eye into the scene.
For more compelling examples, try layering fog with objects making sure that they are sharper. This will create a more dynamic effect as well as a sense of depth in your shot. If your shots are shallow, you'll need to play with the focus point until everything has been layered correctly. Layering fog in this way can be challenging but it is worth it in the end.
Suggestion: Create Fantastic Light Orb Images
3. Focus Manually
One of the most challenging aspects of fog photography is getting the focus just right. When shooting in dense fog, you'll avoid unfocused shots by working to identify a subject that remains sharp despite the swirling strands of mist. While automatic settings may seem like an easy solution, make no mistake - if you rely solely on autofocus, you'll experience focus issues. Instead, take control with manual focus.
By manually setting your focus point, you'll create truly eye-catching sharp shots that highlight the beauty of low-light images. Fog constantly evolves and moves, making autofocus ineffective in capturing the shot you want. But with manual knowing that your subject will remain clear and crisp throughout your shoot. So next time you're out photographing in the fog, don't shy away from manual focus - it could be the key to unlocking some truly stunning images!
Curious to learn more? Check out: Capture Perfect Panning Shots
4. Explore Depth and Perspective
Exploring Depth and Perspective in Fog Photography
Shooting foggy scenes can be a great opportunity to experiment with depth and perspective in your photography. One way to do this is by using a tree fence or other elements in the foreground to create contrast against the natural-looking fog in the background. This can help prevent your image from looking like a flat, one-dimensional scene.
To create great contrast and sharp effectively contrasted elements, it's important to use fast shutter speed and iso settings you'll work exceptionally well in low-light conditions. This will allow you to capture the details of your subject while still keeping the natural-looking fog intact. With some practice, you'll be able to create stunning images that capture the beauty of misty landscapes while still maintaining a sense of depth and perspective.
Intriguing read: Lightroom Tutorial 20 Create
5. Experiment With Outlines and Shadows
Experimenting with outlines and shadows is an excellent approach to shooting fog photography. Fog obscures and surrounds objects, making it the perfect scenario for highlighting shapes and objects through the use of shadows. By placing people or objects in the foreground, you can capture great silhouettes against the misty conditions that create great ambient light.
Shooting high-contrast shots with strong light sources full of shadows in foggy or misty conditions can achieve striking portrait photography or cinematic images. Fog layered on city streets can add wild natural elements to your photos. With manual settings, experimentation, and creative post-production, you'll be able to produce stunning photos with unique outlines and shadows that are sure to captivate your audience.
Check this out: Low Light
6. Go Completely Manual
Going completely manual in photography simply means taking full control of your camera settings. Shooting fog requires specific techniques and greater control over your camera to achieve clear results. In low-light situations, using manual mode allows you to set a bigger aperture and low ISO to reduce noise in your shots.
To capture natural fog, start by setting your camera to manual mode and adjusting the shutter speed accordingly. Shots combining a slower shutter speed with a stable platform like a tripod stick can result in longer exposure times and stunning photos. Aperture helps compensate for the lack of light while cameras' light meter can help avoid over-exposed shots. By using faster shutter speeds, you can also freeze motion and get creative with your fog photography.
Related reading: Shutter Speed Sports
Frequently Asked Questions
What causes foggy conditions for photography?
Foggy conditions occur when the air temperature is cooler than the dew point, causing water droplets to form in the air. This can cause reduced visibility and a hazy appearance in photographs.
How do I choose the right focal length for foggy weather photography?
For foggy weather photography, a wide-angle lens with a focal length of 18-35mm is ideal as it captures more of the scene and creates a sense of depth. Additionally, using a lens with image stabilization can help reduce any camera shake caused by the fog.
How do you create ethereal photos with mysterious foggy landscapes?
To create ethereal photos with foggy landscapes, use a slow shutter speed and shoot during the golden hour. Additionally, you can enhance the mystical effect by using a telephoto lens and adding contrast in post-processing.
When is the best time to take a foggy photo?
The best time to take a foggy photo is early in the morning or late in the evening when the sun is low, creating a soft and moody atmosphere. Avoid midday when the fog may have dissipated.
Is it hard to perfect a fog photoshoot?
Perfecting a fog photoshoot can be challenging due to factors such as lighting, focus, and composition. However, with proper preparation and practice, stunning foggy photos can be achieved.
Featured Images: pexels.com


